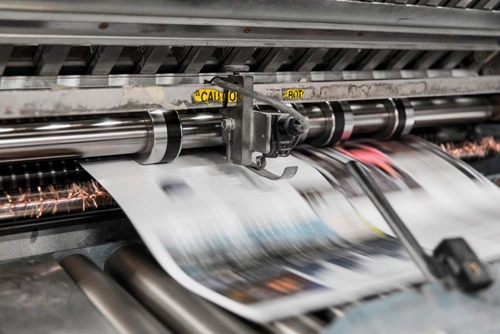
The ultimate 5 step guide to prepare an Indesign file for print
Are you trying to prepare an InDesign file to be print ready? Take a look at the non technical simple guide to help you produce correct artwork for offset printing
1 Proofread
You may have typed everything yourself or the wording may have been supplied by a client, it it however important to proofread your document, Free online proofreading and essay editor by Typely is a great resource to help you.
2 Fonts
Are all your fonts commercial friendly? There are some great font resources out there however I can highly recommend Font Squirrel where a huge catalogue of fonts are available with all other sorts of useful facilities such as Font Identifier where you simply upload an image to identify a font that matches.
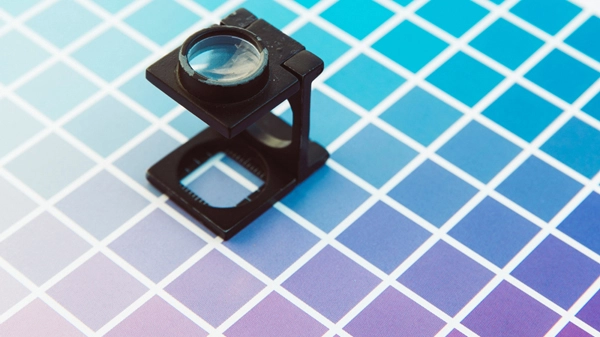
3 Colours
This is an important one as there are a few different colour modes. If you are printing greyscale only you will need to make sure everything is set up in black and tints of black. You can check the colour separations on your InDesign file simply going to Window > Output > Separations Preview which will bring up a separate dialogue box. Simply click ‘View’ to ‘Separations’, click the balck channel off and nothing should be left in the document. This means you have successfully created a greyscale page.
If you are printing in full colour (CMYK) it is common practice to convert all your images from RGB to CMYK in an editor such as Photoshop and bring them into InDesign as mentioned below. In your Swatches vie the InDesign panels make sure there are no spot colour such as Pantone references, if so you need to double click then and change to process colour.
4 Bleed
Bleed is where you have an element going right to the edge of the sheet, this needs to extend off the edge by at least 3mm which is then trimmed by crop marks. This includes images, blocks of colour, lines, heading text etc.
5 Images
Make sure all your images are either CMYK or greyscale (not RGB, LAB or Index). This can be done via Photoshop or other image editors.
Check your images are of a good quality, ideally you should make sure they are 300dpi and not 72dpi which is where a lot of people fail. 300dpi will give you a higher resolution and overall better looking image.
Well done for getting this far!
Once you have completed the above tasks, it is a simple process of using InDesign PDF export settings which you can read my article Create a Print Ready PDF in InDesign in 4 super easy steps.


Leave A Comment